Challenges of Performing Automated Ultrasonic Inspection
Automated Ultrasonic Inspection is widely used for flaw detection in aerospace components and large structures. When performing such automated non-destructive testing, several requirements and parameters need to be controlled in very precise way. One of the important requirements for reliable automated ultrasonic inspection is to maintain a constant probe angle during inspection. For example, ultrasonic inspection of materials requires constant 0-degrees of the probe during the entire inspection time.
Another parameter which needs to be adequately controlled is the probe distance; the distance between the probe and the tested part. Such distance represents the delay line or the water-path. When inspection of parts is performed in an automated immersion tank, the water-path is carefully maintained at constant distance from the surface of the tested piece in order to obtain a consistent beam focus throughout the material depth.
Components and parts with complex geometries having inclined, curved or multiple surfaces are generally inspected using Automated Immersion Systems or Squirter/ Gantry Systems using advanced contour following or 3D inspection techniques. With such highly automated systems, additional parameters need to be controlled and optimized in order to achieve proper inspection of parts. Accurate system motion control is required to minimize errors in positioning the system axes, parameters related to the system mechanical alignment, as well as the accuracy, backlash and reparability of the system axes need to be optimized in order to control the probe/wave incidence angle and water-path. All of these parameters must be properly controlled and kept within acceptable ranges depending on the inspection application.
System alignment:
System alignment is directly related to the final performances of the automated system. The challenge is to achieve values which would guarantee minimum stability in the probe alignment versus the tested part. The required performances are also related to the application; while contour and advanced 3D inspection require high mechanical performances on every aspect, however, simpler applications may only require basic alignment principles to be followed.
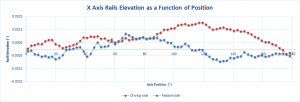
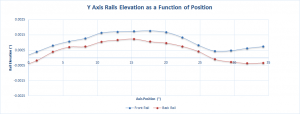
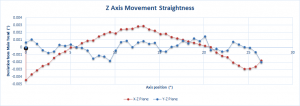
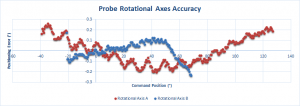
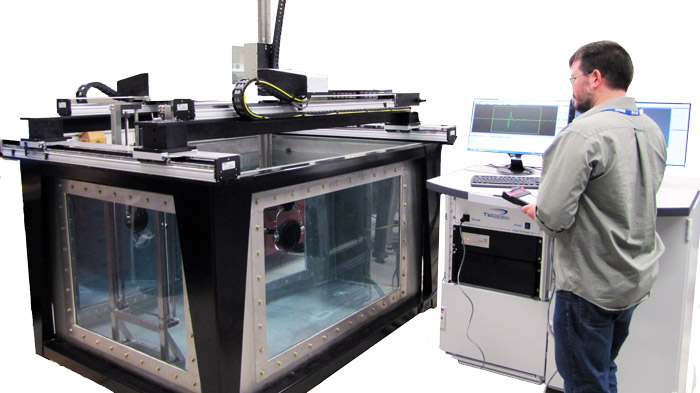
The following graphics show some alignment performances of large automated immersion tank designed to achieve typical detection performances.
Probes alignment:
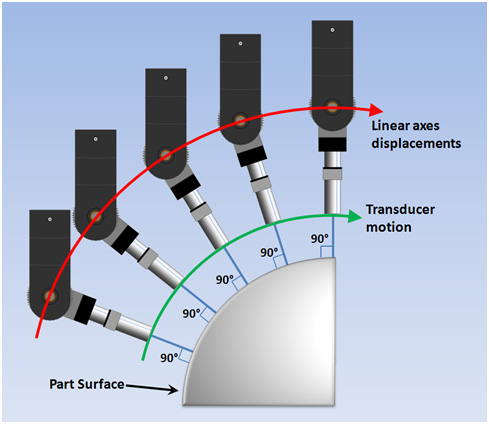
Maintaining probe to part (in pulse-echo) and probe to probe alignment (in through-transmission) is of even of a greater importance when performing advanced contour following and 3D scanning than it is for simpler flat panel scanning. Large deviations in the perpendicularity between axes motion or in the accuracy of rotational axes can be the source of important probe misalignment while performing complex motion.
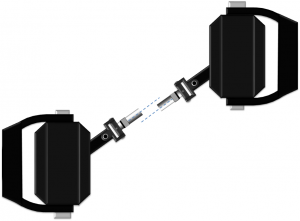
Examples of probe to probe misalignment resulting from inaccurate positioning.
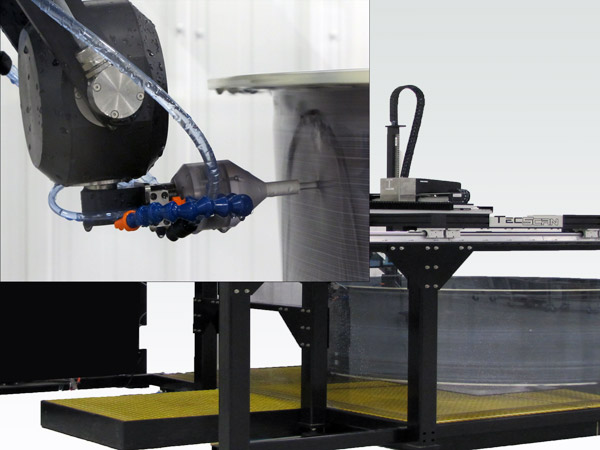
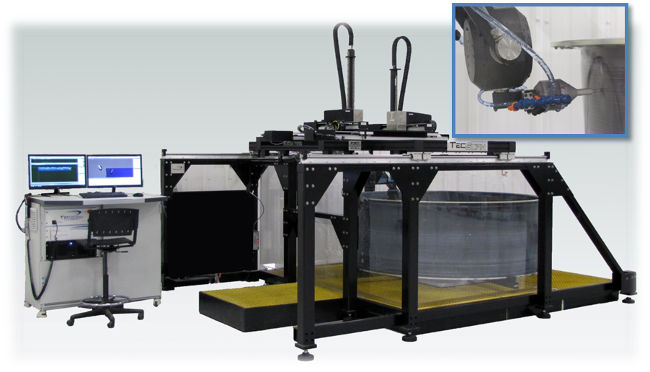
Examples of Complex 900 ultrasonic flange inspection of aircraft fan case made of composite materials: probe to probe misalignment resulting from inaccurate axes positioning; accurate inspection of flanges greatly relies on maintaining probe alignment throughout the full ~90° rotation required to cover a flange radius.
System motion control:
The quality of the motion control also plays an important role at various levels. In basic scanning applications, the positioning error at the end of a scanner motion has a direct impact on the indexing accuracy of the system and on the ability to move the probe back to a specific position. On the other hand, 3D scanning also require to minimize axes positioning error during scanner motion; this is mandatory due to the need to synchronize the motion of multiple axes in order to move the probe along an accurate 3D path.


