Automated Ultrasonic Inspection of Brazed Joints in Helicopter Engine Turbine Nozzle
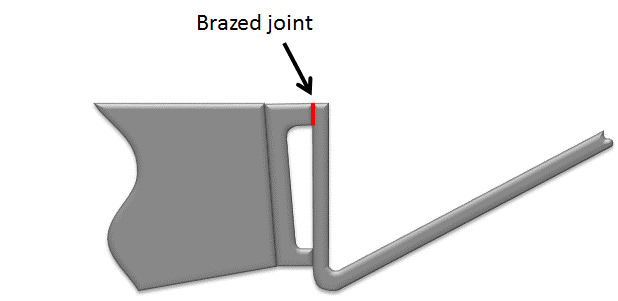
MRO (Maintenance, Repair, and Overhaul) activities for engine services and modifications are witnessing increasing demand for the commercial and military aerospace. The helicopter engine turbines and it components are subject to regular and mandatory MRO activities to maintain flight safety. The turbine nozzle, an important and sensitive component, which is located at the turbine’s combustion stage, is exposed to a considerable amount of heat. This exposure could affect its integrity and in most cases will create cracks in the brazed joints which are designed to hold the nozzle assembly. Fractures and voids in brazing are known to pose a serious threat to flight safety and therefore need to be properly detected. This problem is solved by using non-destructive ultrasonic testing (UT) in an automated immersion tank.
Challenges
The UT inspection of the brazed joints of the nozzle assembly poses three main challenges:
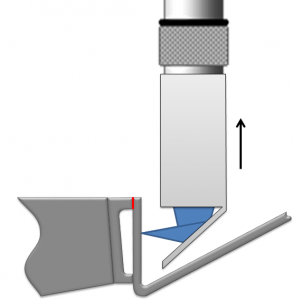
– Accessibility of the brazed joint due to the turbine nozzle complex part geometry
– UT inspection with good near surface resolution; typically needs to be in the vicinity of 0.030” for proper void/fracture detection
– Proper void/crack sizing requires high precision scanning
Solution
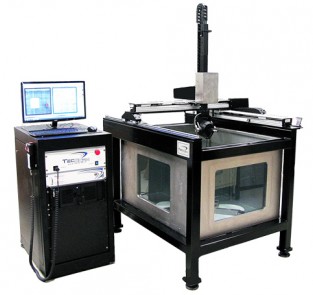
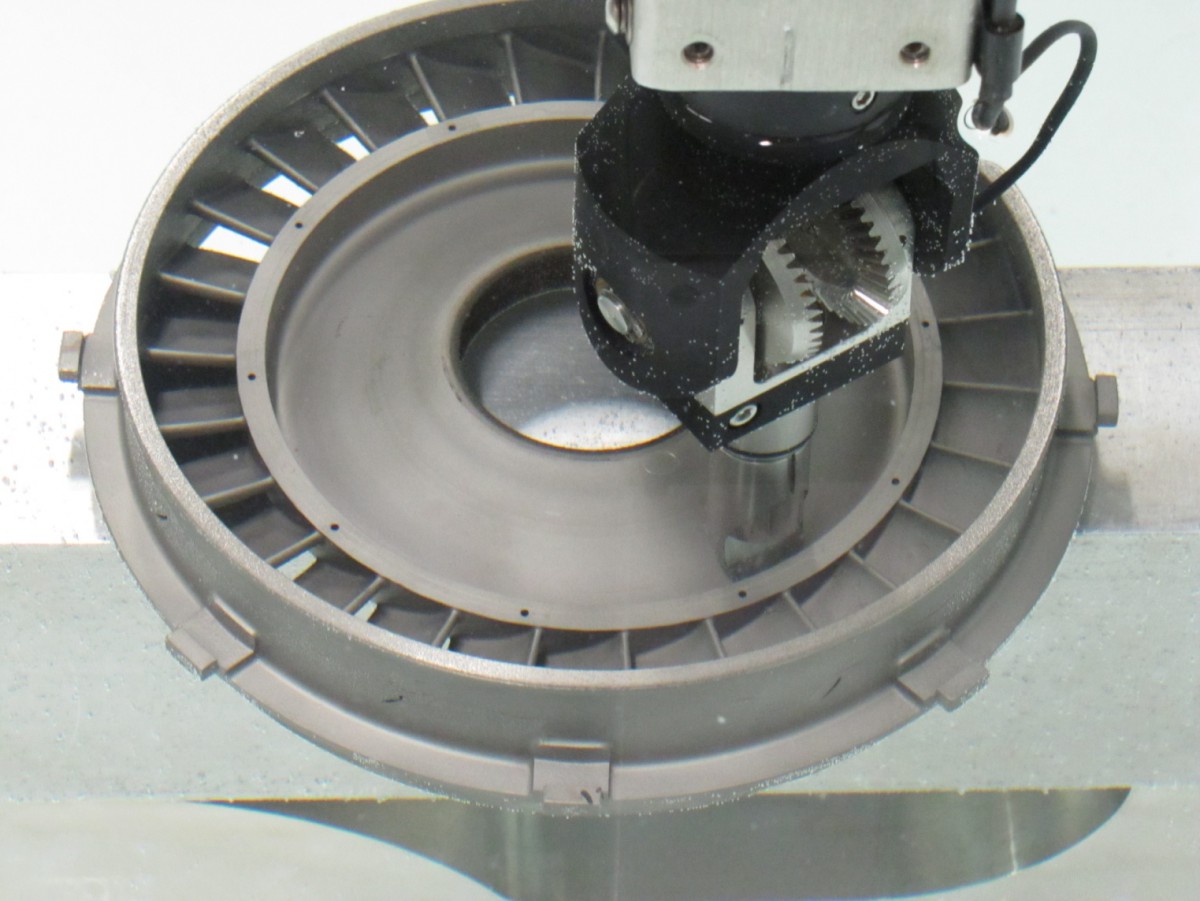
UT inspection using high frequency probes is used to detect and produce C-Scan map of defects; voids and cracks in the brazed joints. A TecScan’s 6-axes automated ultrasonic immersion system was used to develop the inspection procedure. A focused transducers equipped with mirrors as well as side-looking probes was also selected and mounted on the z-axis of the system. The nozzle component was installed on a a high-precision turntable, which allowed us to perform high resolution C-Scan maps of the joint. TecViewTM software was used to control the immersion system and provide final analysis results.
Results
The helicopter engine turbine nozzle samples were provided by Vector Aerospace for system demonstration and procedure validation. Nozzles were inspected at a resolution of 0.010” and successful detection of natural voids was demonstrated with 100% coverage of the brazed joint, as presented below in the C-Scan.
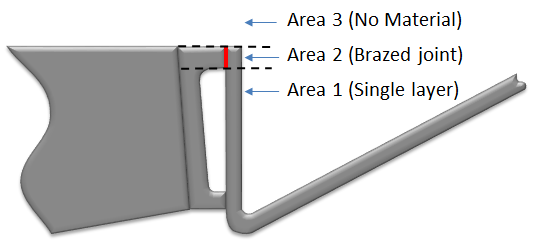
TecView™ UT display of A, B and C-Scan acquired on the brazed joint (Area 2) of one of Vector Aerospace sample (scale is not 1:1). Voids appear as bright/red pixels in the C-Scan image.
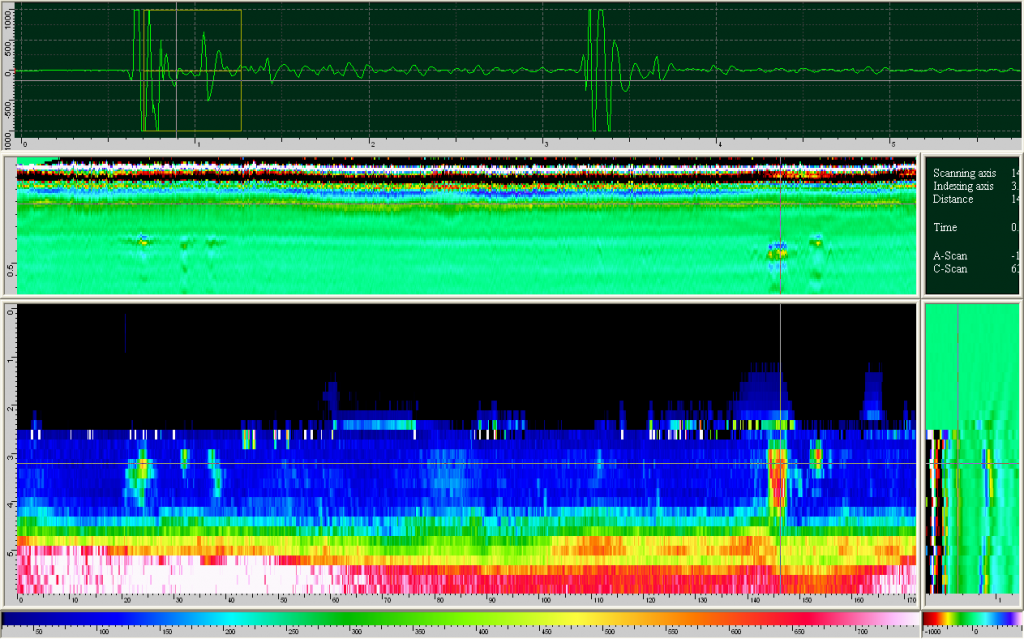 TecView™ UT display of A, B and C-Scan acquired on the brazed joint (Area 2) of one of Vector Aerospace sample. Voids appear as bright/red pixels in the C-Scan image.
Conclusion
Automated ultrasonic testing is well adapted to the inspection of brazed joints on turbine nozzle. Ultrasonic instrument and probe selection represent important factors for successful development of the testing procedure. In addition, the flexibility of the motion control and data acquisition system (TecViewTM), provided appropriate inspection tools for the required millimetres inspection accuracies.


