AUTOMATED THICKNESS MEASUREMENTS OF HIGH PRESSURE AERO-ENGINE TURBINE BLADES
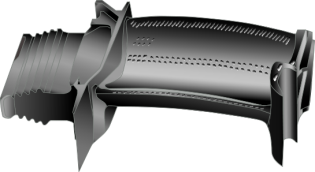
Turbine blades are investment casting engine components which are critical to the operation of the aircraft. These blades are produced to be light/thin and also strong/durable. Their critical nature requires accurate inspection after casting in order to confirm minimum allowable material thickness throughout the entire structure of the blade and ensure the proper alignment of their cooling channels.
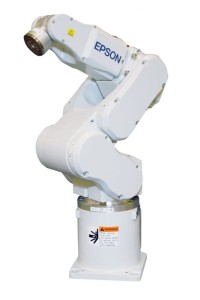
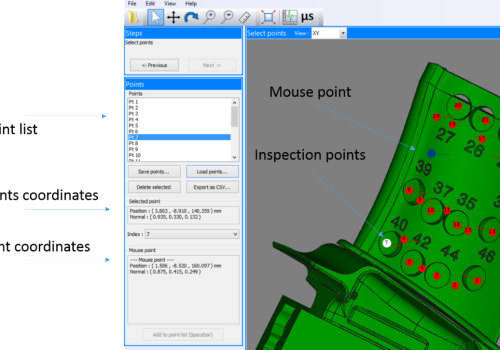
An automated thickness measurement solution is being developed using a 6-axis polar coordinates robot fitted with custom grippers, a laser positioning system and an ultrasonic water jet system to perform repeatable automated thickness measurements. A software module has been also developed and integrated in TecViewTM UT to enable the import of the blade CAD model and to provide repeatable positioning of the inspection points on the blades.
Turbine blade thickness measurements are typically conducted manually; this type of inspection is usually not highly repeatable and very time consuming. An automated solution offers an overall reduction in inspection time, while ensuring that the inspection scans are always conducted in a repeatable manner. In addition, ultrasonic signals used for thickness measurement are recorded and stored for each monitored blade position.
The TecView™ UT inspection software manages the thickness measurement and data recording aspects; it is used to set, save and load the ultrasonic parameter settings, to record and analyse ultrasonic signal and report thickness measurement data. The developed solution also uses our standalone ProScan UT instrument, a 60 MHz broadband ultrasonic pulser/receiver.
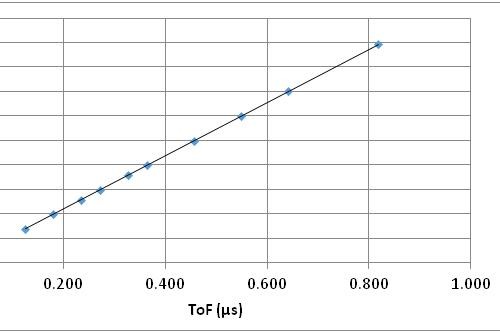
Inspection of the blade starts by loading the designated inspection points, each blade is then gripped and accurately positioned over the ultrasonic probe that uses a water jet system. Once all inspection points are validated, the robot starts a continuous inspection sequence triggering the UT instrument and the acquisition for each point. Point by point, the data is collected and from each acquired signal, the blade thickness is calculated from the ToF information. At the end of the sequence, a file containing all measurements from the inspection points is produced. With the developed solution, several tests were performed on real blade samples to perform automated thickness measurements.
The inspection results obtained during these trials showed perfect thickness measurement reproducibility and robot repeatability. With this inspection solution, we can use a standard commercially available robot which can be integrated into turbine blades production facility ensuring high production throughput by dramatically reducing the blades inspection time.


