TecScan’s Side-Arms Gantry System: Powerful Solution Designed To Evaluate Large Aerospace Composite Structures and To Perform Complex 3D C-Scans
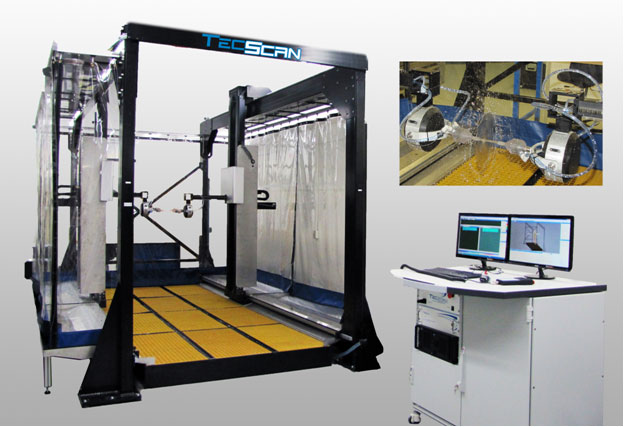
TecScan introduces a new Squirter Gantry system with two side-arms configuration which is specially designed to perform 3D scanning of complex composite and metallic structures. The Gantry System is composed of an industrial mechanical scanner and a control workstation. The mechanical scanner is a large industrial Cartesian coordinate robot with two side-arms which can accommodate up to 10 independent axes. Our standard configuration consists of 2 independent X-axis towers (X1 & X2), 2 horizontal Y carriages (Y1 & Y2), 2 Z-axis (Z1 & Z2), and two Swivel / Gimbal assemblies, although this gantry system can be custom designed to meet clients’ needs. All motors are high quality servomotors equipped with gearboxes and optical encoders. The Gantry system also comes with two squirter nozzles and all the required water metering and filtering equipment. The workstation consists of industrial enclosures containing the workstation unit, all the required electronics including all motor drive electronics, as well TecScan`s state of the art 3D motion controller and ultrasonic inspection hardware. The Gantry squirter scanning system is operated using our amazing TecView™ 3D software package, which takes control of all the axes, setups all inspection parameters and performs all required C-Scan and B-Scan analysis of the collected ultrasonic data.
This Gantry squirter solution uses ultrasonic thru-transmission (TT) and Pulse-Echo (PE )testing techniques which are most commonly used when inspecting thick composite materials for delaminations; and sandwiched honeycombs for evaluating the presence of bond failure or crushed cores. The system produces A-Scan, C-Scan and B-Scan images of the inspected structure and defects as small as 4 mm can be detected and mapped on the 3D C-Scans.
System characteristics & performances:
- Large scanning envelope with fast part Load/unload
- Simultaneous Pulse-Echo & Through-Transmission
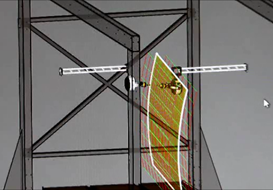
- Inspected geometries are created from CAD files
- Interactive tools for part entry •
- Probe & beam calibration
- Easy interpretation of results (3D display)
- Defect sizing on curved surfaces


