Automated Eddy Current Inspection of Aerospace Bearing Raceways
Aerospace bearings are used in the design of engines for the civil and military aerospace industries. Such bearings undergo a wide range of metallurgical, geometrical and overall test conditions in order to ensure that they comply with the aerospace industry standards. Once a bearing reaches the end of this chain, a non-destructive, high frequency eddy current inspection is typically used to detect surface imperfections and cracks that may be present on the bearing raceway. High performance testing equipment is required and most of the time this NDT equipment is qualified by aerospace engine manufacturers to inspect 100% for all critical features of bearings that will make it in the motor engine.

Challenges:
Eddy Current Test of bearing races measures flaw responses as voltage and phase. Depth of flaws that need to be detected can be as low as 0.002”, which calls for high frequency tests to be performed (typically between 1 and 6 MHz). This also requires signal amplification that can reach 75 dB in some cases. On the other hand, the material properties and the residual magnetisation of the bearings contribute to high-level of noise in the eddy current signals. Therefore, achieving good inspection results with proper signal-to-noise ratios is an important challenge since we must consider optimizing the required signal amplification.
In addition, probe to part alignment is critical in obtaining a stable eddy current response as the part is scanned. While this can be easily achieved on roller bearing raceways, ball bearings represent a particular challenge since the probe angle must vary according to the ball diameter.
Solution:
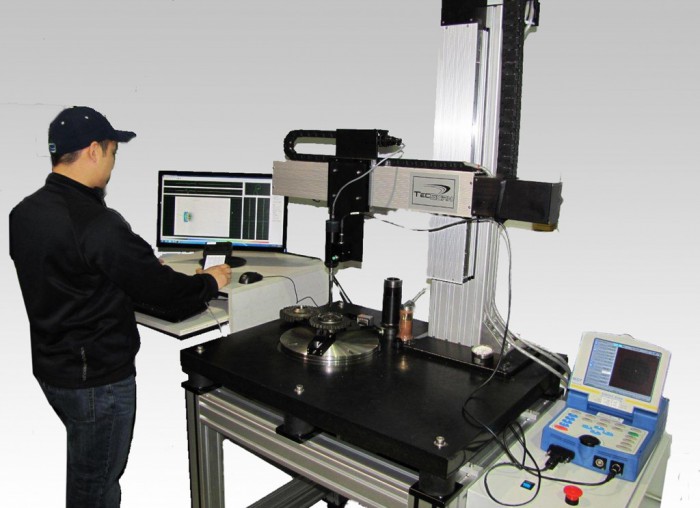
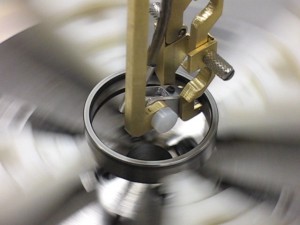
Automated eddy current inspection of the bearing raceways is done using a 4-axis table-top scanner (X, Y, Gimbal and Turntable axes). For the inspection of bearings having 36” maximum diameter, a turntable and a low profile rotational probe holder is used allowing to rotate the probe within a ball bearing raceway while maintaining probe orientation. The automated system uses TecViewTM EC for the scanner motion control, data acquisition and signal analysis.


