Ultrasonic Gantry Systems
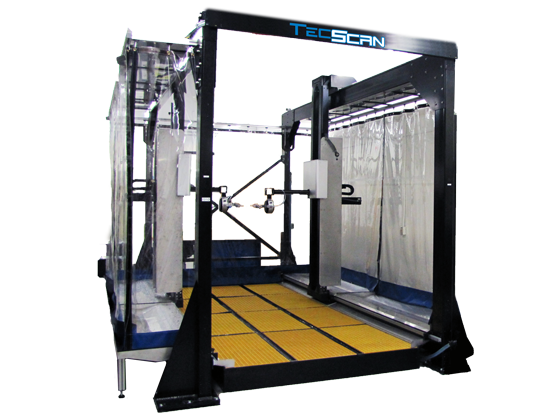
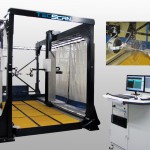
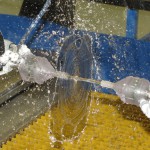
TecScan’s NDT Ultrasonic Gantry Systems are industrial Squirter scanners designed for non-destructive quality testing and raster scanning of large structures and parts. The Gantry Systems use water jet coupling and are usually composed of an Industrial Mechanical Scanner and a Control Room with System Workstation.
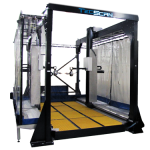
The mechanical scanner is a large industrial Cartesian coordinate robot which can accommodate up to 12 independent axes. The structure is made of structural steel components (Steel tube, I-Beams, Steel Plate, etc) welded together for increased rigidity. The Control Room includes all the Gantry electronic components and it is designed to host two system users for system control and data analysis.
Get your custom gantry configuration now !
Loaded with TecView™ software for 2D & 3D inspection of materials.
Ultrasonic Squirter/Gantry Systems
Standard Gantry configurations are designed to suit a wide range of non-destructive testing applications:
- Ultrasonic Gantry System with Overhead Bridge (with single or double bridge)
- Side-Arms Ultrasonic Gantry system
Ultrasonic Gantry System with Overhead Bridge
This configuration represents a 9-axis system with a single/double X-Axis bridge, two Y-Axes, two Z-Axes and two swivel/gimbal assembles. This gantry system is best suited for larger parts with less complex geometries. Inspection can be conducted in through-transmission and pulse-echo from each side simultaneously. This gantry system can be custom designed to meet clients’ needs.
Side-Arms Ultrasonic Gantry
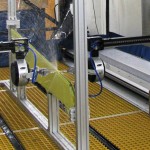
The Side-Arms Ultrasonic Gantry configuration is specially designed to perform 3D scanning of complex composite and metallic structures. Such Gantry System consists of 2 independent X-axis towers (X1 & X2), 2 horizontal Y carriages (Y1 & Y2), 2 Z-axis (Z1 & Z2), and two Swivel / Gimbal assemblies.
- Side-Arms Gantry system
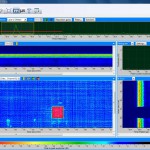
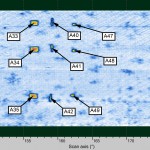
Both configurations use high quality servomotors equipped with gearboxes and optical encoders. The Gantry system also comes with all the required water metering and filtering equipment. Our squirter Gantry Systems can be used in ultrasonic thru-transmission (TT) and Pulse-Echo (PE) testing techniques which are most commonly used when inspecting thick composite materials for delaminations; and sandwiched honeycombs for evaluating the presence of bond failure or crushed cores. The system produces A-Scan, C-Scan and B-Scan images of the inspected structure and defects as small as 1 mm can be detected and mapped on the 3D C-Scans.
All gantry system can be provided with water recuperation tanks or an integrated concrete pit design. A high efficiency water filtration system and water regulation needle valves are provided in order to optimize water flow to ensure constant UT signals.
Finally, Our Gantry Systems can be delivered with a Control Room or a standalone Control Workstation. The control workstation consists of industrial enclosures containing the computer workstation unit, all the required electronics including all motor drive electronics, as well as TecScan’s state of the art 3D motion controller and ultrasonic inspection hardware. The Gantry system is operated using our TecView™ UT or TecView™ 3D software packages, which takes control of all the axes, setups all inspection parameters and performs all required C-Scan and B-Scan analysis of the collected ultrasonic data.
Gantry systems controlled by TecView™
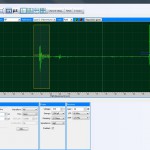
TecView™ UT makes the NDT process simple and rapid. The software aids the user to setup the inspection parameters and it incorporates different modules including Data Acquisition and Management, robotic control, imaging and Data Analysis and Interpretation. It also features basic and advanced contour following capabilities.
- Simple system operation
- Software with intuitive user interface & capability of processing of multi-scans
- Full digitized waveform capture with Real-time A, B and C-Scans
- Scanner Homing and auto-calibration capabilities
- Reproducible defect detection with high speed scanning and motion resolution
- High speed UT scanning
- High motion resolution and accuracy
- Full motion control up to 12 axes
- Windows based, multi-tasking software TecView™ UT
- Full waveform digitization
- Real-time A, B and C-Scans
- Advanced imaging & waveform processing utilities
- Tools for flaw sizing and locating
- Inspection setup recall
- Advanced reporting capabilities with customizable reports
- Imperial and metric units
- High quality encoders and DC servo motors
- Linear amplifiers that minimize the noise interfering with UT signals
- Hardware for Pulse on Position scanning
- Home switches for high position repeatability
Typical Scanner Specifications:
| Axis | Max Speed | Accuracy | Resolution | Repeatability |
|---|---|---|---|---|
| X | 36″/Sec | ±0.005″/’ | 0.0005″/Step | 0.01 mm |
| Y | 24″/Sec | ±0.005″/’ | 0.0005″/Step | 0.01 mm |
| Z | 12″/Sec | ±0.005″/’ | 0.0005″/Step | 0.01 mm |
| Gimbal A | 30°/sec | +/- 0.4° | 0.0005° | +/- 0.05° |
| Gimbal B | 30°/sec | +/- 0.4° | 0.0005° | +/- 0.05° |
*These specifications may vary according to clients requirements.


